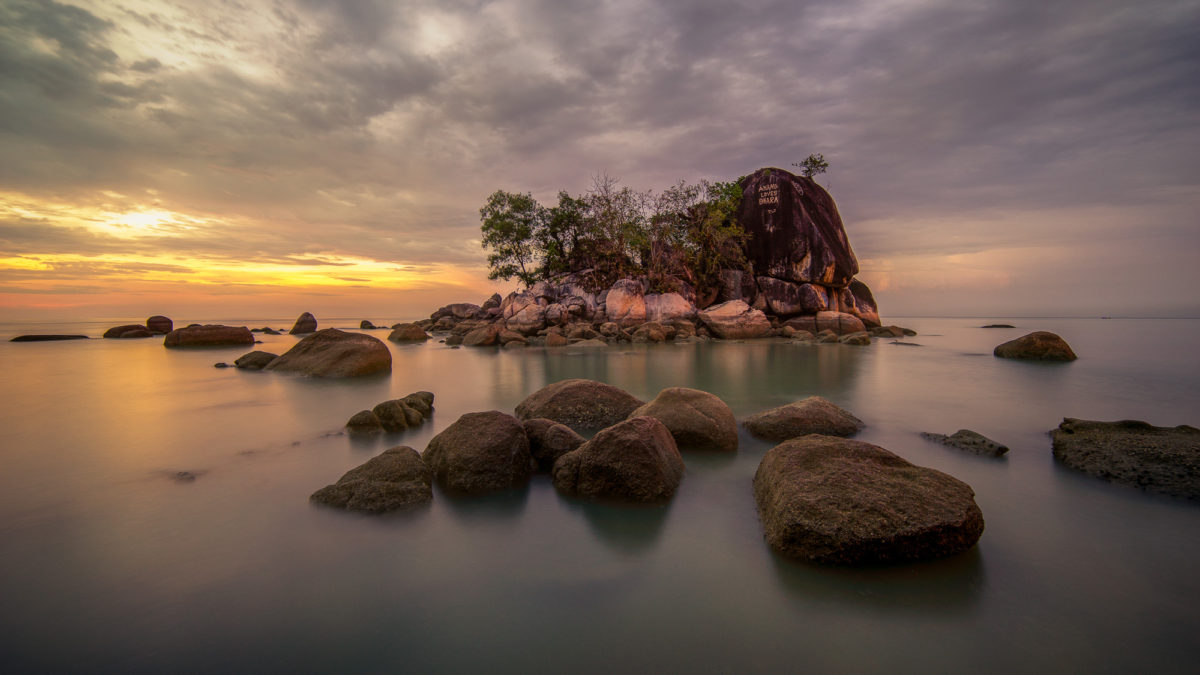
“A flat photo is a great photo!” said no photographer ever. Whether you paint, draw, or take photos, you’ve probably tried to add depth and dimension to your art, especially if you’re a landscape photographer.
There are a number of techniques you can use to add depth to an image. Photo blogs and books are filled with tips. In fact, here’s one of my tip’s about using aperture to control your depth of field.
Marc Adamus’ Tip to Add Depth to Photos
The other day I was listening to episode 60 of Nick Page’s Landscape Photography Podcast: Chasing Extremes With Marc Adamus. During the interview, Marc gave a great answer as to how to make your photos feel like you can reach into them.
Nick Page: What tips do you have for creating images with more depth?
Marc Adamus: Well, I think that we first have to understand that we’re working within a two dimensional medium as photographers. We’re going to show people these images on screens, on print, what have you. So anything that you can do to create more three dimensionality is the key.
And to do that, we need to create transitions that are fluid and unbroken, all the way through the entire image, that lead either from near to far or far to near, or from everything that is not our focal point to our focal point.
And by transitions, I mean something called a level of blacks, atmospherics, where you have a heavy black in the front – the near objects, a mid black in the mid ground – the mid objects, and a very light hazy misty level of black in the background.
Also, dark to light, cool to warm, higher contrast to lower contrast, more saturated to less saturated, big to small, every leading line that we’ve ever seen in our life is a big to small transition. It’s just a different way of wording it.
And by keeping in mind those transitions and how they need to flow through the image we can create a cohesive three-dimensional visual path in the direction we want to take the viewer.
Thanks to Nick Page and Marc Adamus for sharing!

Leave a Reply